

How to Prepare Your Home Exterior for Painting
Quick Summary
Knowing how to prepare your home exterior for painting means walking the full perimeter to find damage, washing the surfaces, repairing and priming them, and waiting for dry, mild weather. Most failed paint jobs peel because the surface underneath was never properly checked. Work through each step before you start painting.
Press a fingernail into suspect paint; if it dents or crumbles, repair before painting.
Keep pressure washing low and steady to avoid forcing water behind siding.
Homes built before 1978 may contain lead paint, so use lead-safe methods.
Allow 24 to 48 hours of drying after washing, and prime bare wood before painting.
Paint in mild conditions, about 50 to 85 degrees Fahrenheit, with no rain forecast.
Table of Contents
Start With a Walk-Through Inspection of Your Home's Exterior
How to Wash a House Before Painting Without Damaging the Surface
Scraping, Sanding, Repairing and Caulking Before the Paint Goes On
Priming Bare Wood and Checking Weather, Humidity and Dew Point
Booking Your Wash and Deciding Between DIY and Professional Exterior Painting
How to Prepare Your Home Exterior for Painting
Last Updated: November 4, 2026
Start With a Walk-Through Inspection of Your Home's Exterior
Good exterior paint jobs start long before the first brush touches the wall, which is why learning how to prepare your home exterior for painting matters so much.
Walk the full perimeter of the house in daylight. Look closely at the siding, trim, window frames, door frames, fascia, and soffits.
Check for these common warning signs:
Peeling or blistering paint, especially on south and west walls that get the most sun
Soft or spongy wood around window sills and door bottoms
Cracks in caulk or mortar joints
Mildew, algae, or dark streaks on shaded sides
Rust stains coming from nails or metal fasteners
Take photos as you go. They help you track problem areas and give a painter or cleaner a clear picture of the job.
Exterior Paint Preparation Checklist Before You Start
A list of tasks is only useful if each task passes an observable check before you move on. Use this checklist as a gate: do not start painting until every item passes. Each entry tells you what to do and how to confirm it is done.
Inspection and cleaning
Full perimeter walk-through in daylight. Pass: every damaged area is marked and photographed, including fascia, soffits, and trim ends.
Wash the surfaces. Pass: water sheets evenly off the wall and no chalk, mildew, or dark streaks remain on shaded sides.
Rinse and dry. Pass: the surface is dry to the touch, including shaded areas and the grain of wood, typically 24 to 48 hours after washing depending on sun, wind, and humidity.
Surface repair by material
Wood: loose paint scraped to a firm edge, edges feathered, soft or rotted wood replaced rather than filled.
Masonry and stucco: cracks patched with masonry compound, not wood filler; surface not over-sanded.
Metal: rust removed to bare metal and treated with a rust-inhibiting primer.
Vinyl: cleaned and lightly scuffed if glossy; never sanded or scraped.
Caulk joints: continuous, tooled, and fully cured around windows, doors, and trim.
Moisture and damage diagnosis
Paint failure vs. trapped moisture. Pass: blisters that release water or peel from the back of the film are traced to a source, failed caulk, flashing, or a roof leak, and the source is fixed.
Rot probe. Pass: an awl pressed into sills, door bottoms, and trim ends does not sink easily.
Primer and weather readiness
Bare wood and repairs primed. Pass: every exposed spot has a coat of primer appropriate to the surface, with no bare wood showing.
Weather window confirmed. Pass: forecast shows no rain for at least 24 to 48 hours, air and surface temperatures are roughly 50 to 85 degrees Fahrenheit, and the surface temperature is comfortably above the dew point.
Dew and overnight moisture plan. Pass: you have scheduled painting to start after morning dew has dried and to stop early enough that the coat can set before evening dew.
Protection and access
Landscaping and fixtures protected. Pass: plants wetted and covered, lights and outlets masked, walkways covered with drop cloths.
Ladders and tools staged. Pass: ladders are stable and on firm ground, and you have scrapers, sandpaper in multiple grits, caulk, primer, and brushes staged before the first coat.
Watch out: a checklist that is ticked off in a hurry is worse than no checklist, each item is a gate, and skipping one usually shows up within a few seasons as peeling paint.
The checklist below condenses the key preparation steps, with the timing and conditions the article gives for each.
Step | What to do | Time or frequency |
Perimeter walk-through | Mark and photograph every damaged area in daylight | Before any work |
Wash the surfaces | Remove chalk, mildew and dark streaks | Before painting |
Rinse and dry | Confirm surface is dry, including shaded areas | 24 to 48 hours after washing |
Repair by material | Scrape, patch, or prime according to surface type | Before priming |
Weather window | Check forecast and temperature range | 24 to 48 hours of no rain; about 50 to 85°F |
Dew plan | Start after morning dew dries | Before evening dew returns |
How to Wash a House Before Painting Without Damaging the Surface
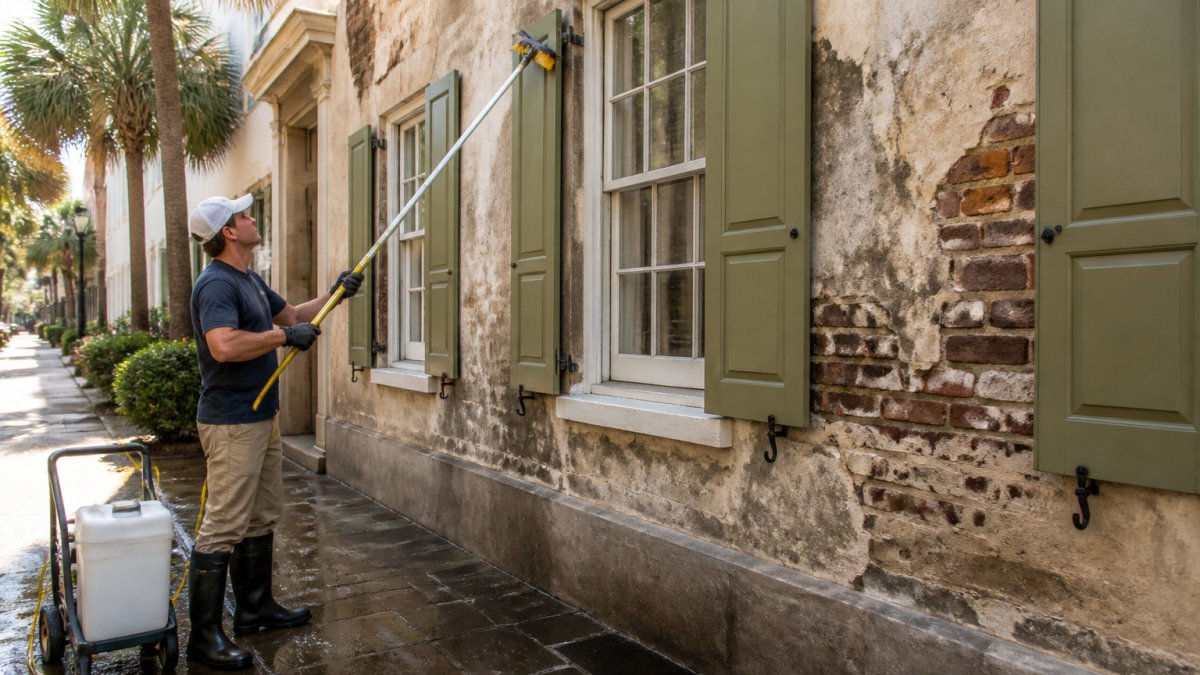
Washing removes the dirt and mildew that keep new paint from sticking. Start by wetting the plants and shrubs near the house, then cover outdoor lights and electrical outlets.

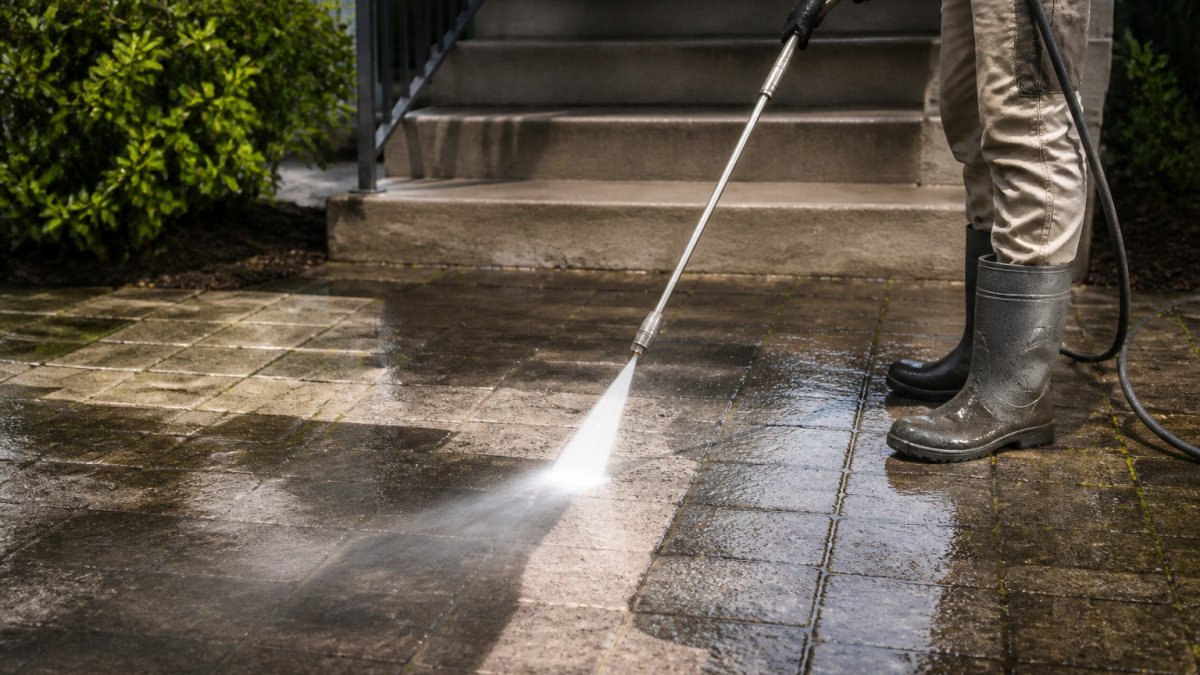
A common mistake is turning up the pressure too high. Read specific guidance on avoiding siding damage during a house wash to protect the surface. To compare pressure washing providers before choosing how to clean your house, review the options side by side.
Watch out: spraying high pressure into a gap around a window can push water inside the wall, where it can rot framing and cause mold.
Pressure-Washer Safety and Lead-Paint Precautions for Older Homes
Safety matters most on older homes. If your house was built before 1978, the paint may contain lead (the EPA). For a step-by-step approach, see safe cleaning steps for historic homes. Learn more from the EPA Lead Renovation, Repair and Painting Program.
Also protect yourself on the job. Wear eye protection and waterproof gloves, keep children and pets away from the spray zone, and never point the wand at people. Use a stable ladder and never lean out past its sides.
Scraping, Sanding, Repairing and Caulking Before the Paint Goes On
Once the surface is clean and dry, the repair work begins. This is the stage where most exterior paint jobs are won or lost, and it is also where the right method depends heavily on what the siding is made of. Treat every surface the same and you will either damage it or leave a base that paint cannot grip.
Home & Garden for Mere Mortals
Scraping and sanding by surface type
Wood siding and trim. Use a stiff putty knife or a carbide scraper to lift loose paint back to a firm edge.
Masonry, stucco, and concrete. These surfaces are porous and often coated with elastomeric or masonry paint that skins over rather than flakes.
Metal. Rust is the enemy here. Sand rust back to bare metal, treat the area with a rust-inhibiting primer, and only then apply the finish coat.
Vinyl and factory-finished siding. Never sand or scrape vinyl.
Diagnosing damage before you repair it
A crack, blister, or soft spot is a symptom, not the problem. Before you fill or caulk anything, decide which of these you are looking at:
Paint failure. Blistering or peeling that follows the paint film, with sound wood underneath, usually means the surface was dirty, damp, or unprimed when it was last coated. Scrape, sand, and prime.
Trapped moisture. Blisters that pop and release water, or paint that peels from the back of the film, point to water getting behind the siding. Find and fix the source, a failed caulk joint, a roof or flashing leak, or missing kick-out flashing, before you repaint.
Rot. Soft, spongy wood around window sills, door bottoms, and trim ends will not hold paint. Probe with an awl; if it sinks easily, cut out and replace the wood rather than filling over it.
Watch out: painting over rot or an active leak traps moisture and guarantees the new coat will fail, often within one season.
Filling, patching, and caulking
Fill cracks and holes with an exterior-grade filler matched to the surface, epoxy or two-part wood filler for wood, masonry patch for stucco and concrete. Let every repair cure fully before sanding smooth and priming.
Caulk gaps around windows, doors, trim, and penetrations with a paintable exterior caulk rated for the surface. Cut the nozzle to a small opening, push the caulk into the joint rather than laying it on top, and tool the bead smooth with a wet finger.
Pass/fail readiness checks
Before you move to priming, confirm each of these:
No loose or peeling paint remains, every edge is feathered and firm
All cracks, holes, and soft wood are repaired or replaced, not filled over
Caulk joints are continuous, tooled, and fully cured
Repairs are sanded smooth and flush with the surrounding surface
The surface is dry to the touch, including shaded areas and wood grain
If any item fails, fix it before priming. Primer and paint will not compensate for a repair that was rushed.
Priming Bare Wood and Checking Weather, Humidity and Dew Point
Primer is essential on bare wood, scraped areas, and new repairs. It helps paint bond and blocks stains from bleeding through. Apply it to every spot you exposed.
Timing depends on the weather. Paint works best when the air and surface temperature are mild, usually between about 50 and 85 degrees Fahrenheit, and the forecast shows no rain for at least 24 to 48 hours.
How Long to Wait After Washing a House Before Painting
Plan on letting the house dry completely after washing. Depending on sun, wind, and humidity, this often takes 24 to 48 hours. Wood that still feels damp inside the grain will not hold paint well. Press a hand against the wall and check the shaded areas, which dry slowly.
Use this time to finish repairs and caulking. Prime as soon as the surface is dry so fresh wood does not weather again.
Booking Your Wash and Deciding Between DIY and Professional Exterior Painting
Some homeowners can handle a single-story house with careful prep work. Others should hire help, especially for multi-story homes, steep roofs, lead-paint risks, or extensive rot repair.
If you decide to hire help for the washing step, you can request a quote from Sunshine Pressure Washing and Window Cleaning for pricing specific to your home. You can also see professional soft-wash house washing options in Charleston and Mount Pleasant.
Prepare your home well, and the new paint will look better and last longer.
Frequently Asked Questions
What is the best way to prep my house for exterior painting?
Start with a walk-through inspection to find peeling paint, rot, cracks and failed caulk. Wash the surfaces with a low-pressure wash and mild cleaner, let everything dry fully, then scrape loose paint, sand rough edges, repair damage and caulk gaps around windows and trim. Prime bare wood and any repaired areas before applying the topcoats. Skipping any of these steps is the most common reason new paint peels within a few seasons.
Should I wash the outside of my house before painting?
Yes. Dirt, chalking, mildew and algae stop paint from bonding to the surface, so even a freshly painted wall can fail early. Use a pressure washer on a low setting, or a soft brush and a cleaning solution for delicate siding, and keep the nozzle moving to avoid gouging wood or stripping old paint. Rinse thoroughly and make sure no residue remains before moving on to repairs.
How long should a house exterior dry after washing before painting?
Most siding and trim need at least 24 to 48 hours to dry after washing, and longer in shaded areas, cool weather or high humidity. Check wood by touch and with a moisture meter if you have one, since painting over damp wood traps moisture under the new coat. Plan painting for a day with temperatures above 50 degrees Fahrenheit, low humidity and a dew point at least 5 degrees below the air temperature.
Do I need to prime my house before painting the exterior?
Prime any bare wood, repaired patches, new drywall or surfaces where the old finish has been scraped down to the substrate. Primer seals porous surfaces, improves adhesion and blocks stains. If the existing paint is sound and you are changing to a similar color, a second topcoat over sound paint may be enough, but use a primer when switching from oil to latex or going to a much darker color.

Comments